Tauchen Sie ein in eine unvergleichliche Webwelt mit unseren innovativen Hosting-Lösungen!

Entdecken Sie zuverlässige, sichere und leistungsstarke Optionen, die all Ihren Online-Anforderungen gerecht werden.

Alle unsere Webhosting-Lösungen

Entdecken Sie unübertroffene Leistung mit unseren innovativen, maßgeschneiderten VPS-Servern!

Erleben Sie Freiheit und Leistung mit unseren VPS, die entwickelt wurden, um Ihre Projekte auf neue Höhen zu bringen!

Alle unsere VPS-Server

Optimieren Sie Ihre Bots mit unserem dedizierten, leistungsstarken und maßgeschneiderten Hosting!

Erleben Sie eine reibungslose Verwaltung und optimale Leistung mit unserem Bot-Hosting.

Alle unsere Bot-Angebote

Neues BoxGaming-Angebot

Entdecken Sie unser neuestes Angebot, verfügbar in unseren Rechenzentren in Frankreich und den USA. Mit einem einzigen Angebot können Sie den Servertyp jederzeit ändern.

Das Angebot entdecken
Optimieren Sie Ihre Spielserver mit unserem spezialisierten und leistungsstarken Hosting!

Tauchen Sie ein in das ultimative Gaming-Erlebnis mit unserem optimierten und leistungsstarken Hosting!

Alle unsere Minecraft-Angebote

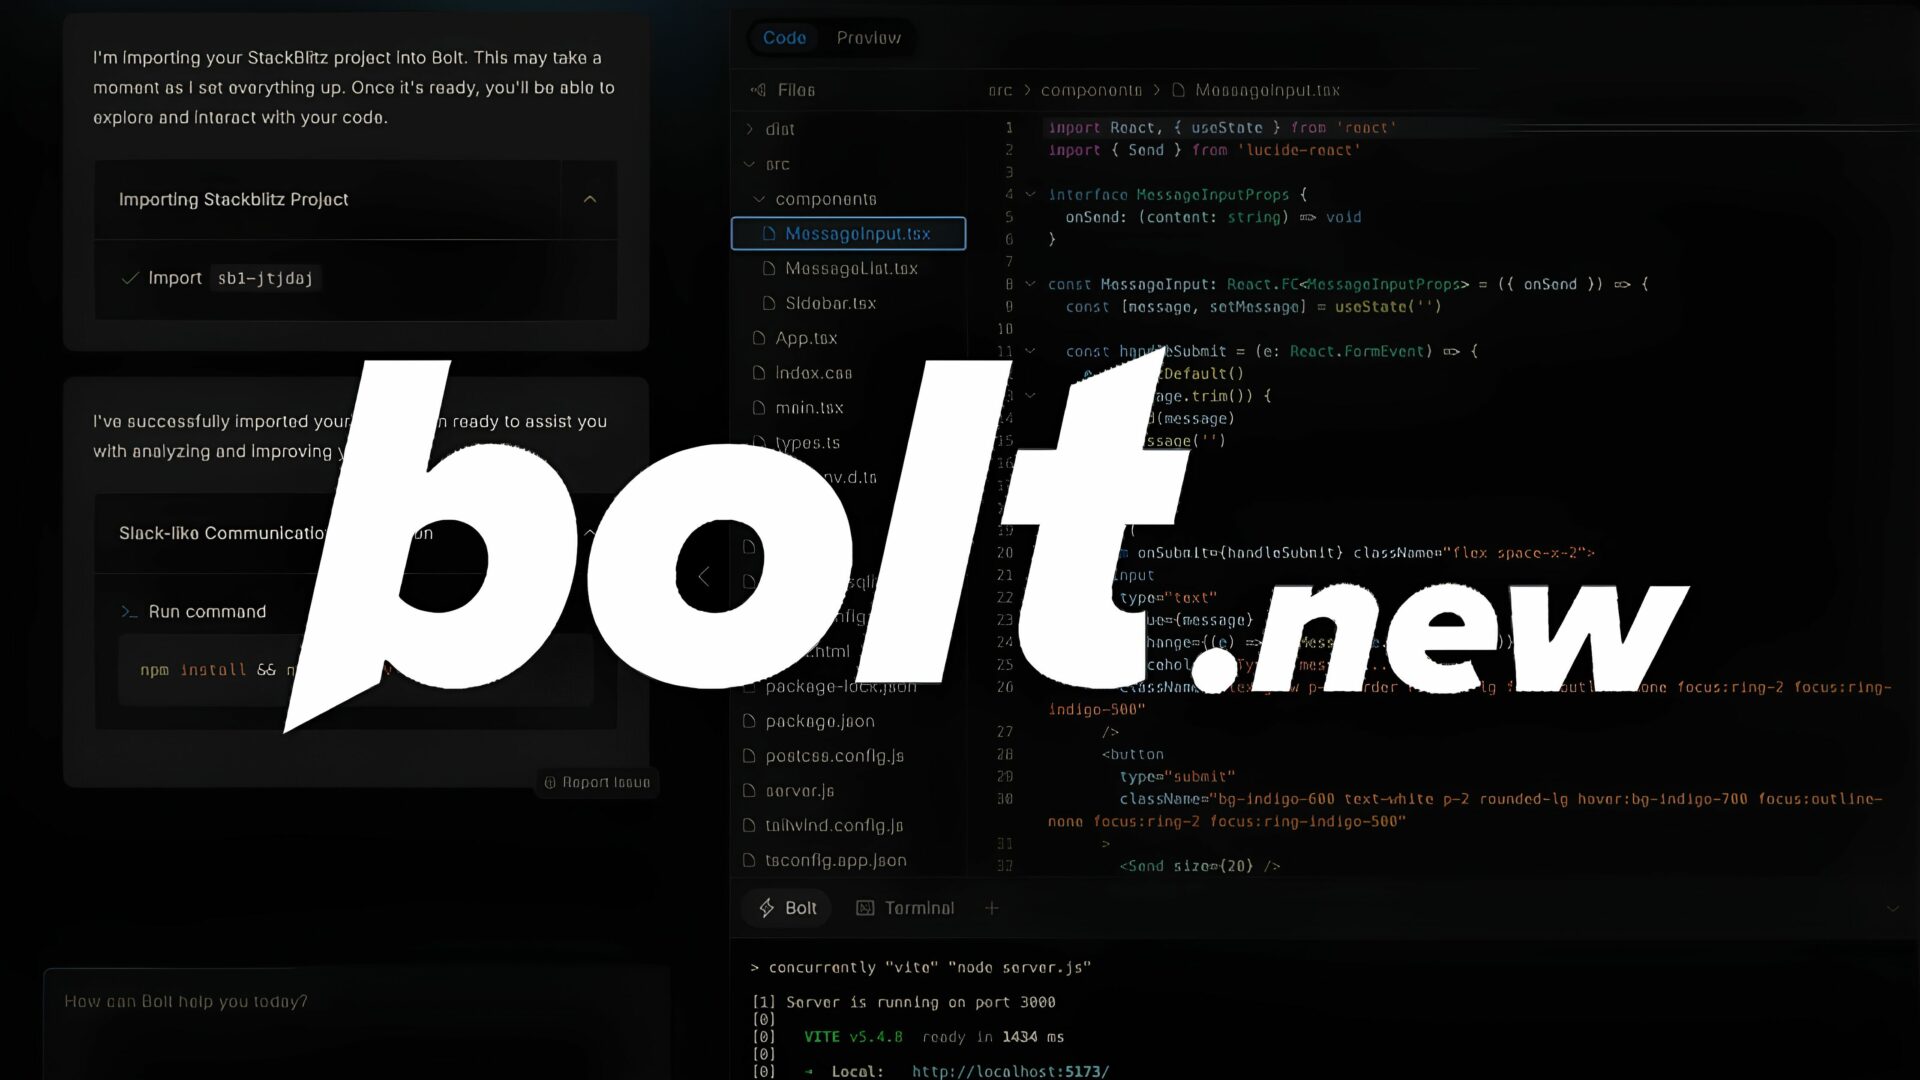
Tutorial: Installing a Bolt.new Website on OuiHeberg Web Hosting

In this tutorial, we will guide you through deploying a website created with bolt.new on OuiHeberg web hosting using cPanel. The applicable hosting plans can be found here: OuiHeberg - Web Hosting.


Prerequisites

  1. A website created on Bolt.new and downloaded as a ZIP archive.

  2. An active web hosting plan with OuiHeberg, including access to cPanel.

  3. An FTP client like FileZilla (optional but recommended).


Step 1: Access cPanel

  1. Log in to the cPanel dashboard of your OuiHeberg web hosting. You can find the login details in the welcome email or via your OuiHeberg client area.

  2. Once logged in, locate the File Manager tool in the “Files” section.


Step 2: Upload the website files

  1. Navigate to the public_html directory in the File Manager.

  2. Click the Upload button and select the ZIP archive of your Bolt.new site.

  3. Once the upload is complete, return to the File Manager.

  4. Right-click on the ZIP archive and choose Extract. The website files will be extracted into the current directory.

Tip: If your site files are in a subfolder, move them to the public_html directory to ensure they are directly accessible.


Step 3: Configure the database (if needed)

  1. If your Bolt site uses a database, go to the MySQL databases section in cPanel.

  2. Create a new database:

    • Enter a name for the database.

    • Click Create database.

  3. Add a user to this database:

    • Create a user with a strong password.

    • Assign the user to the database and grant All Privileges.

  4. Note down the following details:

    • Database name

    • Username

    • Password

  5. Edit your site’s configuration file (often config.yml or .env) to include the database connection details.


Step 4: Configure URLs

  1. In cPanel, locate domains or domain management.

  2. Ensure your domain points to the public_html directory. If you are using a subdomain, verify that its root directory is correctly configured.

  3. If necessary, update the .htaccess file to handle URLs. Here’s a standard configuration example:

RewriteEngine On
RewriteCond %{REQUEST_FILENAME} !-f
RewriteCond %{REQUEST_FILENAME} !-d
RewriteRule ^ index.php [QSA,L]

Step 5: Set Up SSL certificate

  1. Go to the SSL/TLS section in cPanel.

  2. Activate the free SSL certificate provided by OuiHeberg.

  3. Once activated, verify that your site is accessible via https://.


Step 6: Test and go live

  1. Access your domain or subdomain to ensure your site is functioning correctly.

  2. Test the main features and confirm everything is set up properly.

Note: If you encounter issues, check the error logs available in the Metrics > Errors section of cPanel.


Conclusion

Your website created with Bolt.new is now installed on your OuiHeberg web hosting! If you have any questions or need further assistance, don’t hesitate to contact OuiHeberg support.

Enjoy your new website!ertificate provided by OuiHeberg.

  1. Once activated, verify that your site is accessible via ``.


Step 6: Test and go live

  1. Access your domain or subdomain to ensure your site is functioning correctly.

  2. Test the main features and confirm everything is set up properly.

Note: If you encounter issues, check the error logs available in the Metrics > Errors section of cPanel.


Conclusion

Your website created with Bolt.new is now installed on your OuiHeberg web hosting! If you have any questions or need further assistance, don’t hesitate to contact OuiHeberg support.

Enjoy your new website!


OuiHeberg SARL logo
Name des Autors
OUIHEBERG SARL
Kategorien
Web et domaine
Date
06/12/2024

Die Pluspunkte des Artikels