Scopri un mondo web senza pari con le nostre soluzioni di hosting innovative!

Esplorate le opzioni affidabili, sicure e ad alte prestazioni per tutte le vostre esigenze online.

Tutte le nostre soluzioni di hosting web

Scopri una potenza ineguagliabile con i nostri server VPS su misura!

Sperimentate la libertà e la potenza con il nostro VPS, progettato per portare i vostri progetti a nuove altezze!

Tutti i nostri server VPS

Ottimizza i tuoi bot con il nostro hosting dedicato e potente!

Sperimentate una gestione fluida e prestazioni ottimali con il nostro hosting per bot.

Tutte le nostre offerte per bot

Nuova Offerta BoxGaming

Scopri la nostra nuova offerta nei data center in Francia e Stati Uniti. Cambia tipo di server in qualsiasi momento con un'unica offerta.

Scopri l'offerta
Potenzia i server di gioco con il nostro hosting specializzato!

Immergetevi nell'esperienza di gioco definitiva con il nostro hosting potente e ottimizzato!

Tutte le nostre offerte Minecraft

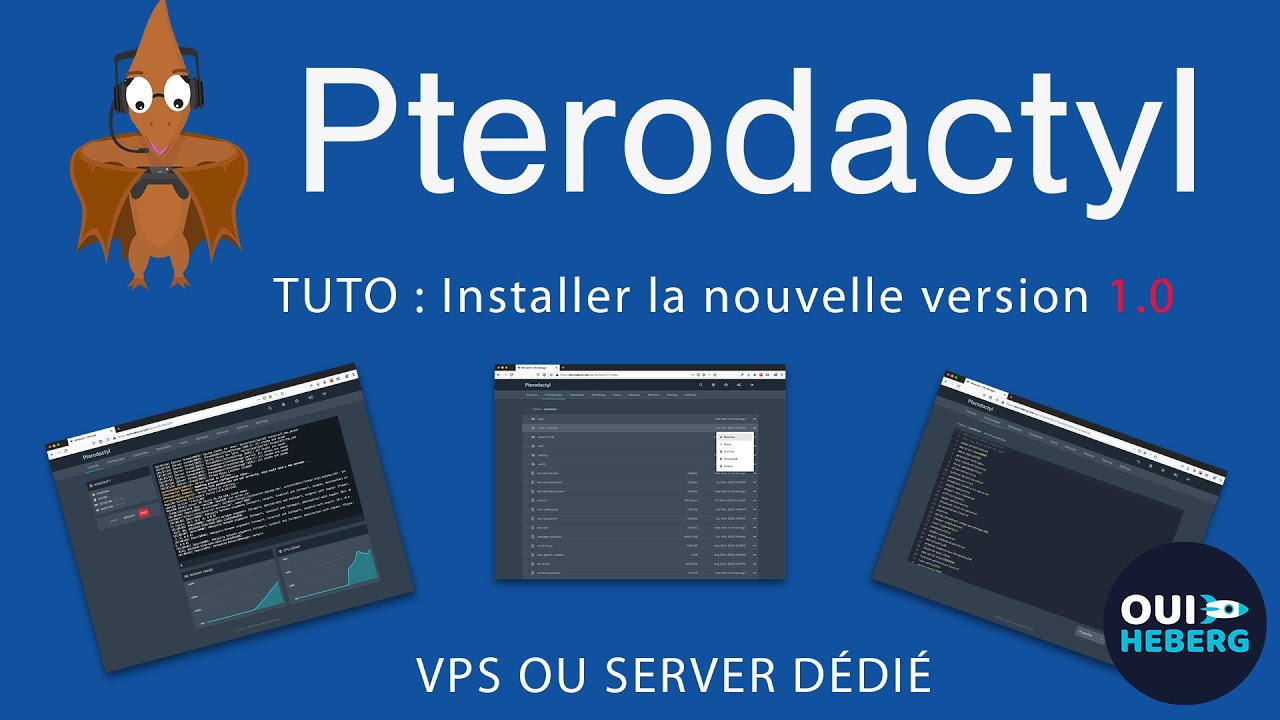
How do I install Pterodactyl on a VPS or dedicated server?

Welcome to this tutorial where we will guide you through the installation of the Pterodactyl panel on your VPS or dedicated server. Pterodactyl is an ideal open-source solution for managing game servers, allowing easy management via a web browser.

For those who prefer visual guidance, we have also prepared a video version of this tutorial. Check out our complete video tutorial on installing the Pterodactyl panel by following this link: https://www.youtube.com/watch?v=i3QZw0XSgiY. Whether you are a beginner or experienced in game server management, this video will guide you through each step of the process to ensure a successful and secure installation.

Prerequisites

  • A VPS or dedicated server with at least 2GB of RAM. We recommend 4GB for more flexibility.
  • Root access via SSH to your server.
  • The Debian 12 operating system.
  • An SSH client software (e.g., PuTTY, Windows 10 terminal, or any other client of your choice).


Step 1: SSH Connection to the Server

Open your terminal or SSH client and connect to your server using the following command:

ssh root@your_domain_or_IP

If this is the first connection, accept the RSA key by entering yes, then enter your root password.

Step 2: System Update

Once connected, start by updating your system to ensure all packages are up to date:

apt update && apt upgrade -y

Step 3: Installation of Dependencies

Install the necessary dependencies such as curl and wget:

apt install -y bash curl wget

Step 4: Download and Run the Installation Script

Retrieve the installation script from GitHub using curl or wget:

bash <(curl -s https://github.com/pterodactyl-installer/pterodactyl-installer)

Follow the on-screen instructions to choose what you want to install (Panel, Daemon, or both).

Step 5: Panel Configuration

The script will guide you through configuring the database, creating an administrator user, and configuring your time zone. Make sure to choose a strong and unique password for your database and the administrator user.

Step 6: Securing the Panel with SSL

The script also offers to configure email sending and secure your panel with an SSL certificate. Follow the instructions to complete these steps.

Step 7: Access to the Pterodactyl Panel

Once the installation is complete, you can access your Pterodactyl panel via the browser using the IP address of your server or the configured domain name.

Conclusion

Congratulations, you have successfully installed the Pterodactyl panel on your server. You can now create game servers, manage users, and more, all from an easy-to-use web interface.

For any questions or additional assistance, feel free to join the Pterodactyl community or consult the official documentation.


OuiHeberg SARL logo
Nome dell'autore
OUIHEBERG SARL
Categorie
Tutoriels
Data
28/02/2024

Articolo in evidenza